Last edited on January 25th 2023
How to Request Airspace Authorization via Nav Drone
If you are a drone operator in Canada, it is important to follow all necessary regulations and safety precautions before taking flight. This includes requesting permission from NAV CANADA to fly your drone, or RPAS, in controlled airspace. The Nav Drone mobile app allows you to review guidelines, find out where you can fly, schedule flights, and request permission to fly in controlled airspace all from your mobile device. In this blog post, we will be covering the steps for requesting airspace authorization via the Nav Drone mobile app, including how to plan an operation, validate it, save it as a draft, publish it, and manage the operation's tasks in order to receive the necessary permissions to fly in controlled airspace.
NAV CANADA's Nav Drone app is a convenient tool for drone operators in Canada.
Pick Your Drone License
Become a certified drone pilot and unlock the skies. Click here to learn more.


Some Functions are Only on the Web App
It's important to note that some functionalities are only available in the Nav Drone web application, and are not available in the mobile app. These include the ability to enter a pilot certificate (required for advanced operations), associate a registration number with a drone, upload documents (which may be necessary for accessing NAV CANADA controlled airspace), associate users with an operator, visualize the flight zones of active drone operations on a map, edit a published operation, copy an existing operation, and acknowledge a rescinded permission request.
5 Steps to Creating a Request Using Nav Drone
If you want to create a new operation using the Nav Drone mobile app, there are five main steps:
- Planning an operation: This includes selecting a drone, creating a flight zone and defining the operation parameters.
- Validating the operation: The Nav Drone mobile app will verify that the operation complies with all applicable rules and regulations.
- Saving the operation as a draft.
- Publishing the operation.
- Managing the operation's tasks: This includes receiving any necessary permissions to conduct the operation.
Step 1: Planning the Operation
Drone operations can only be planned up to 60 days in advance and can have a maximum duration of 24 hours.
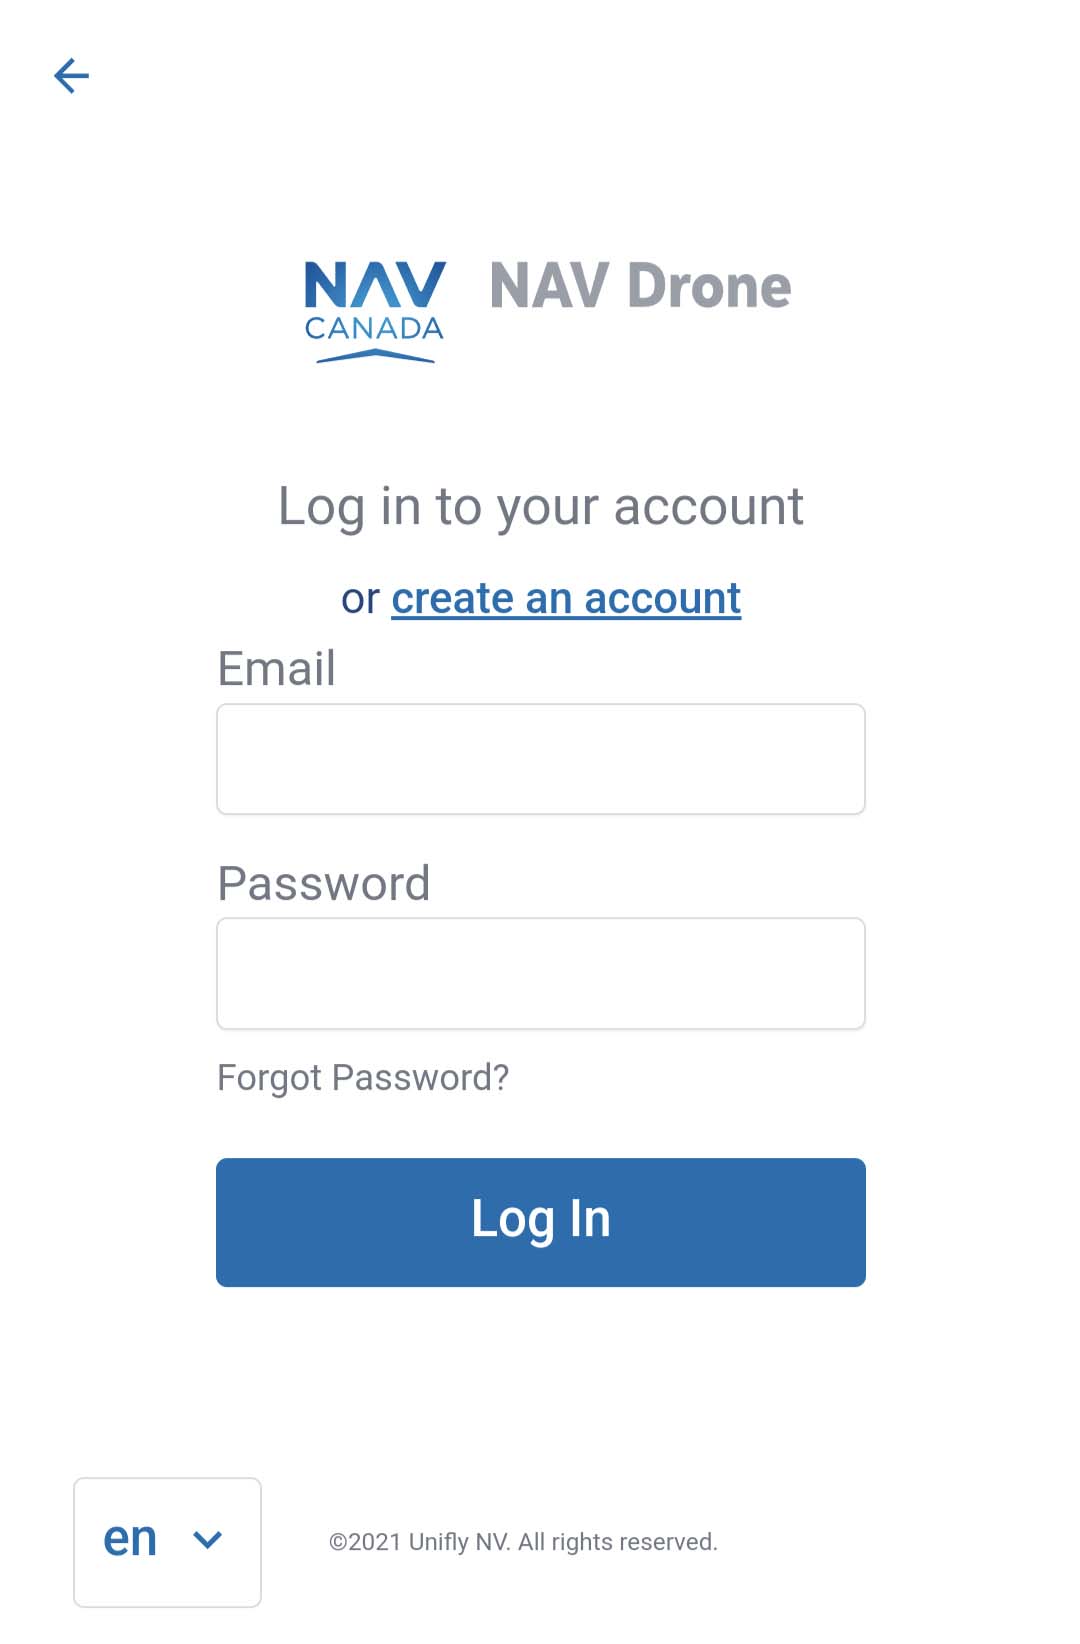
- Login or Signup
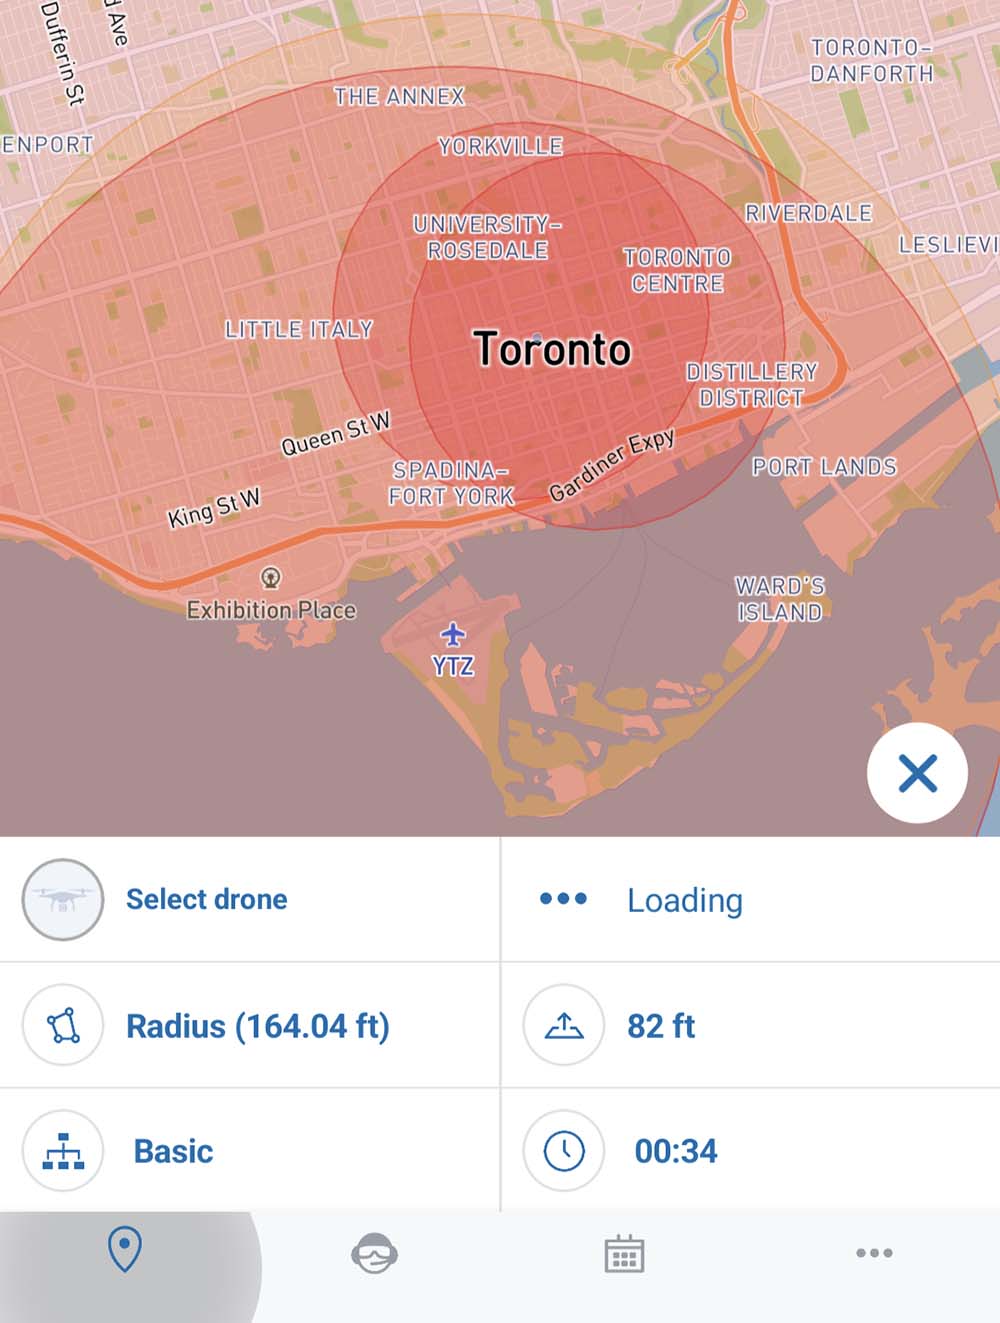
- Tap the Map Pin Icon at the Bottom Left Corner
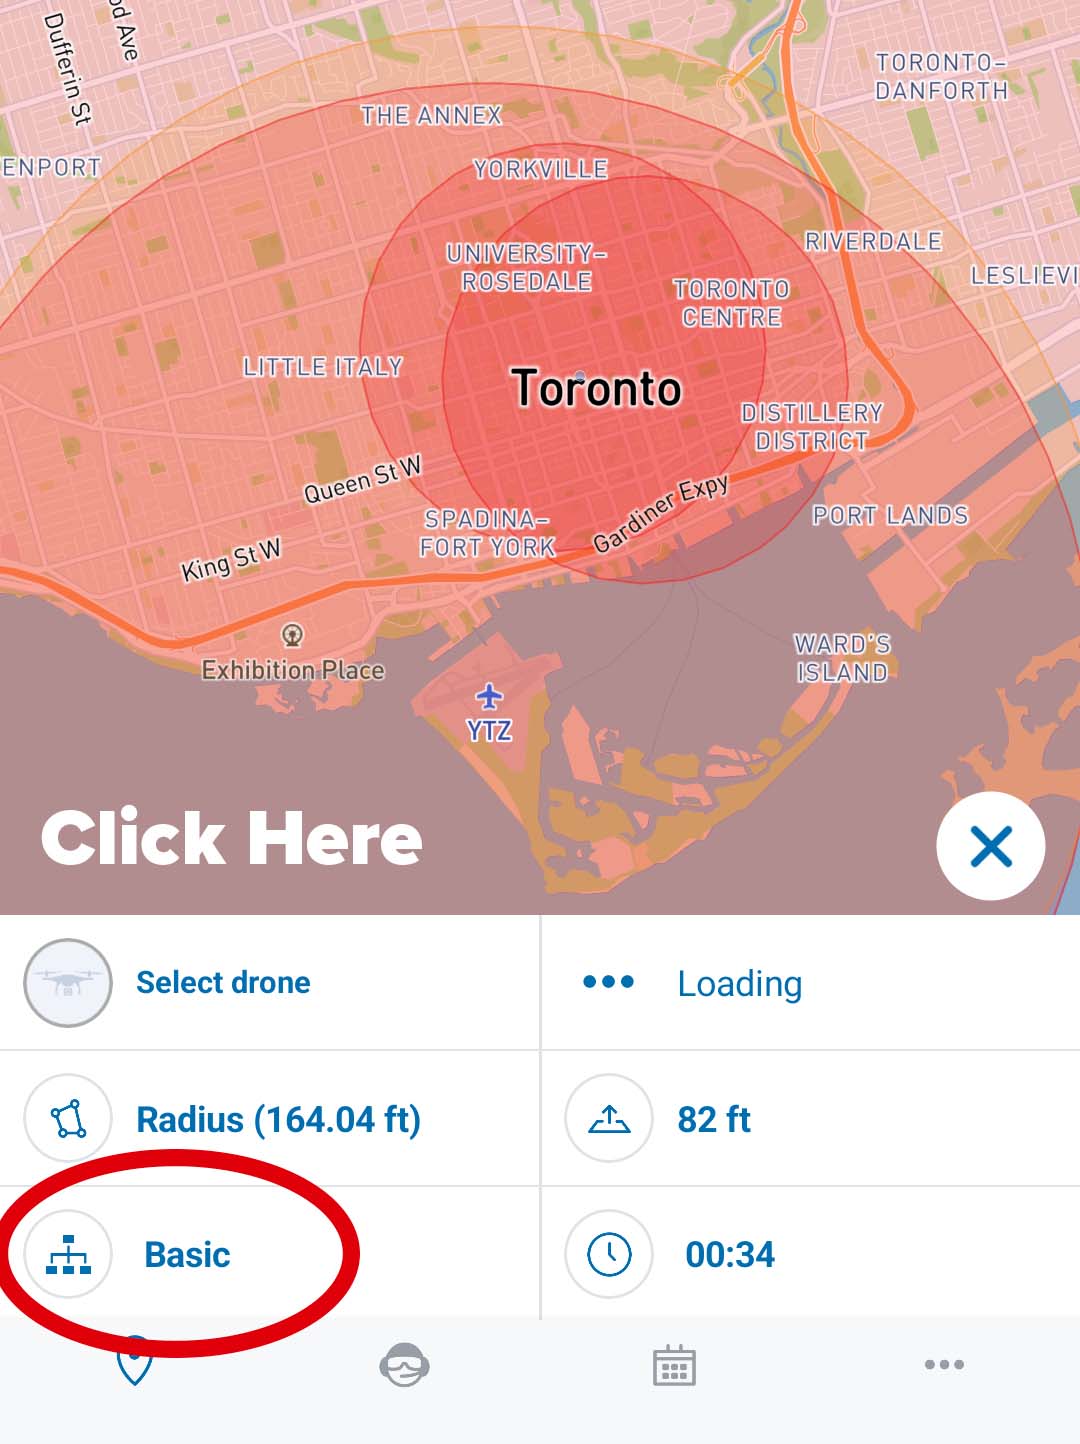
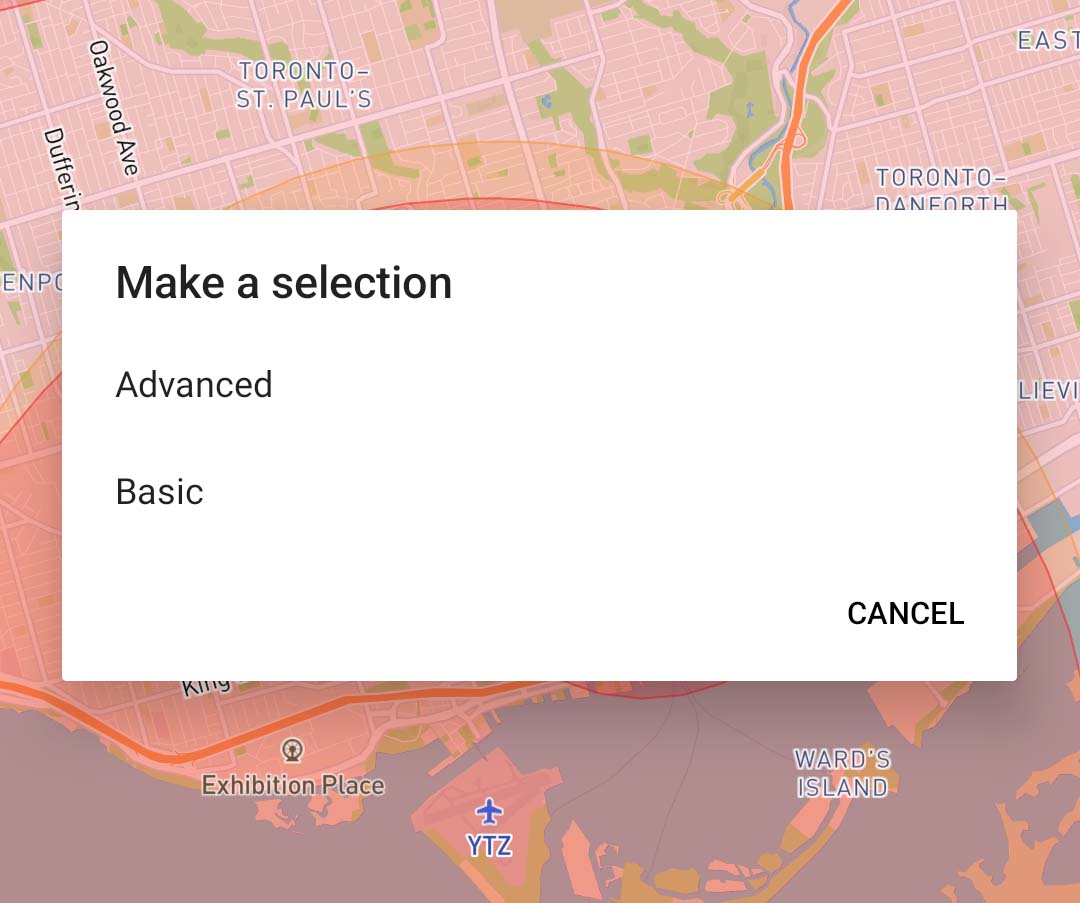
- Select Operation Type (Basic or Advanced)
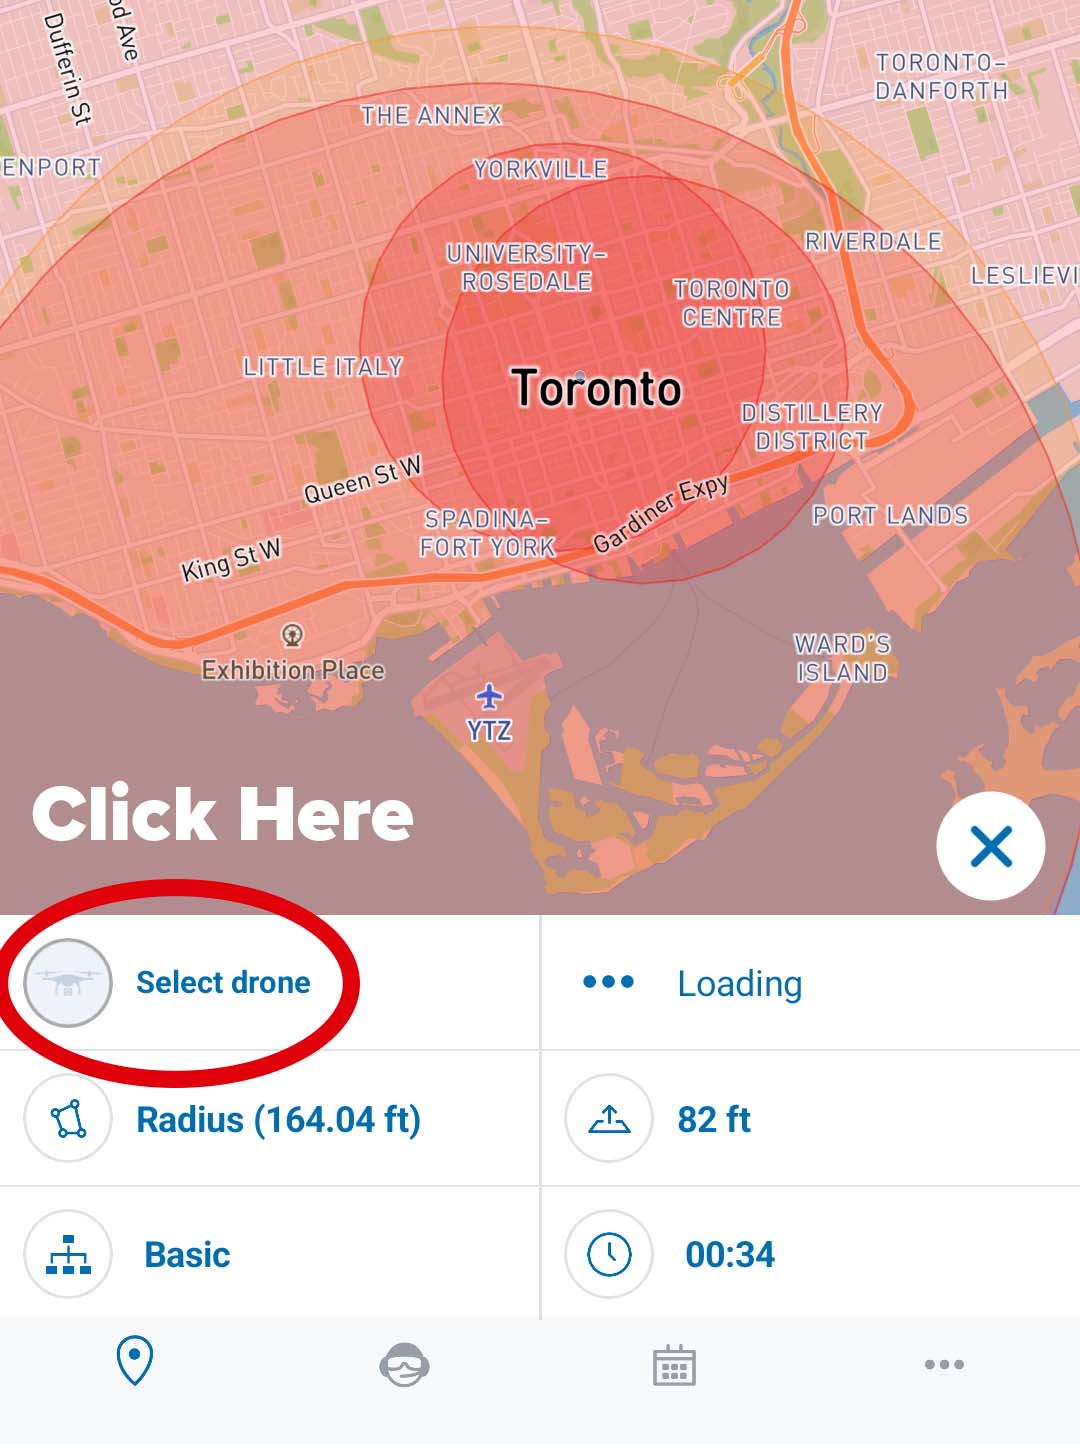
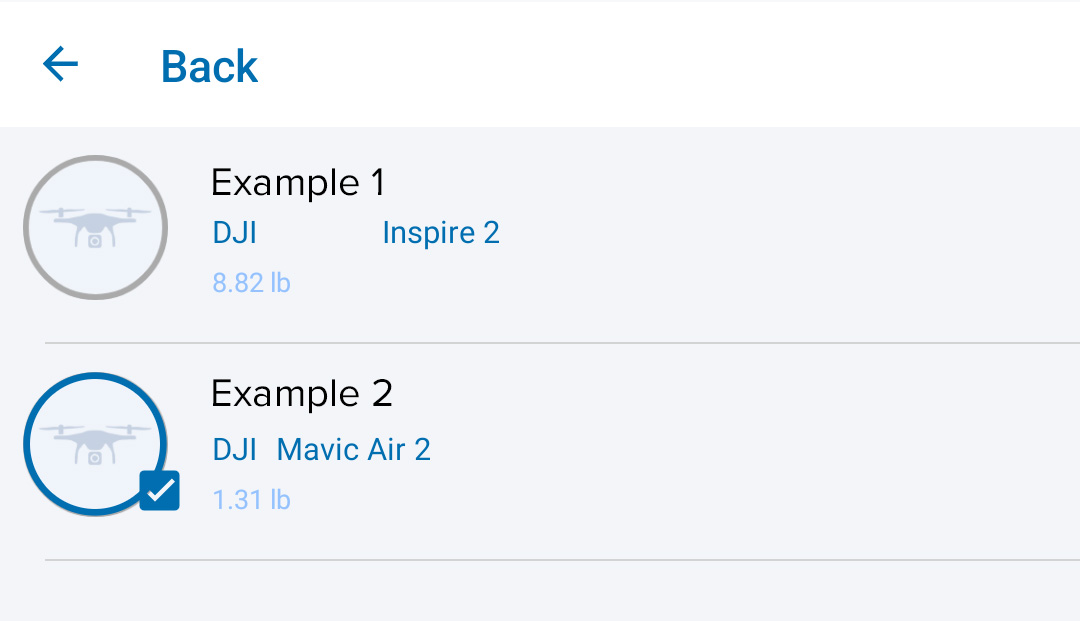
- Select Drone
- Set a Duration
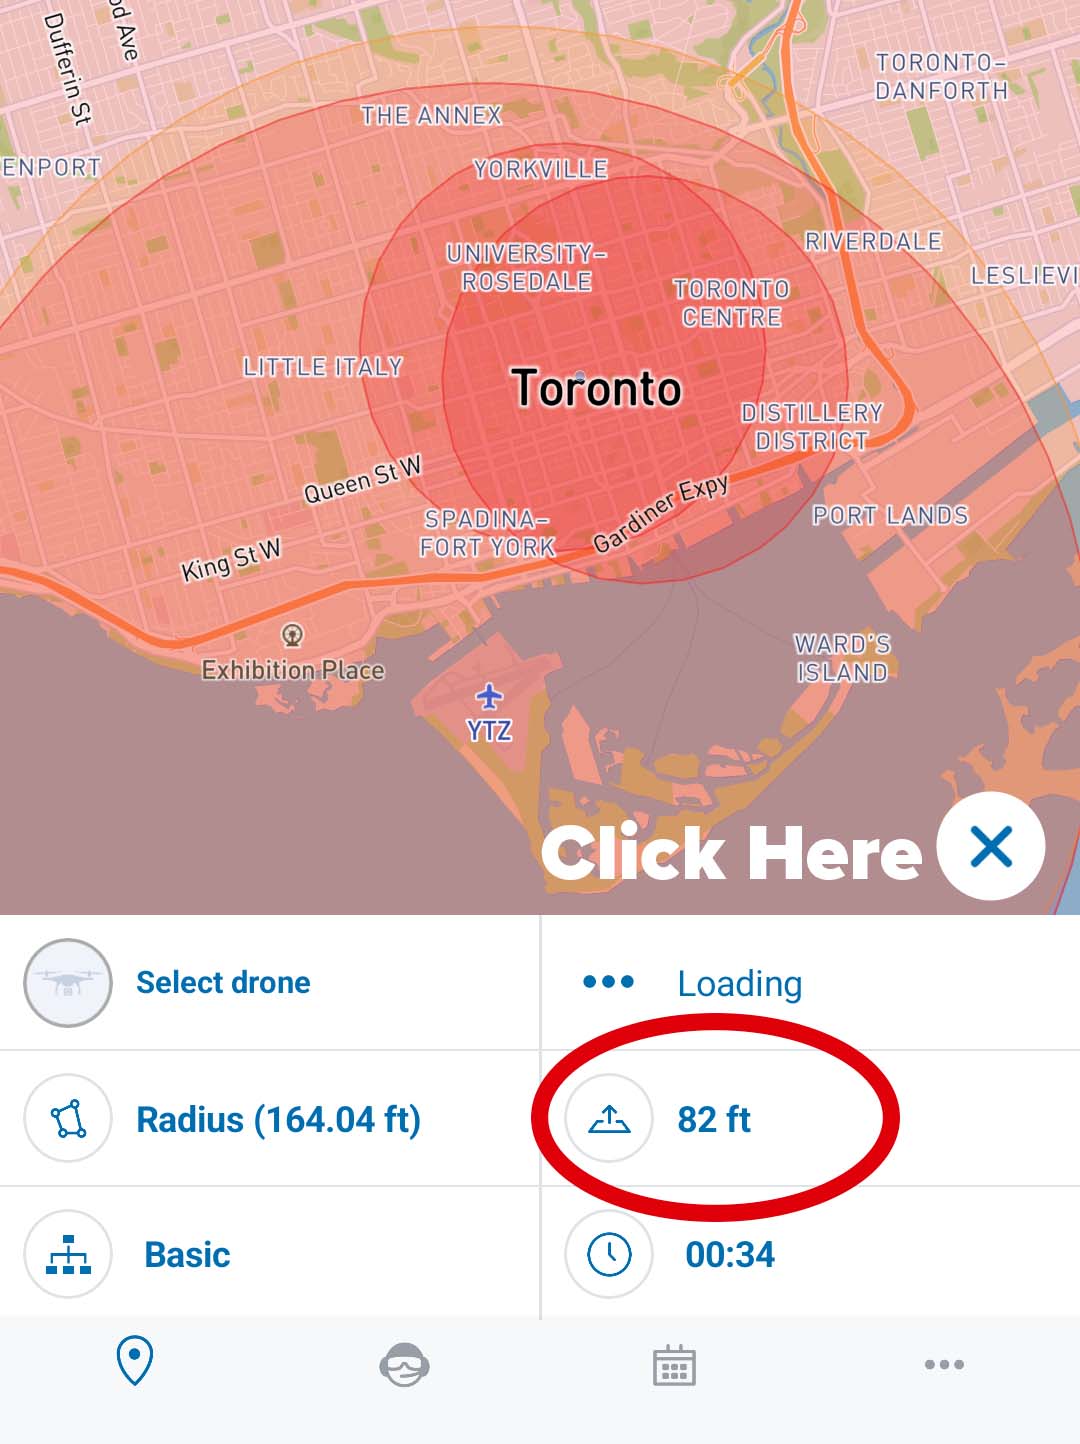
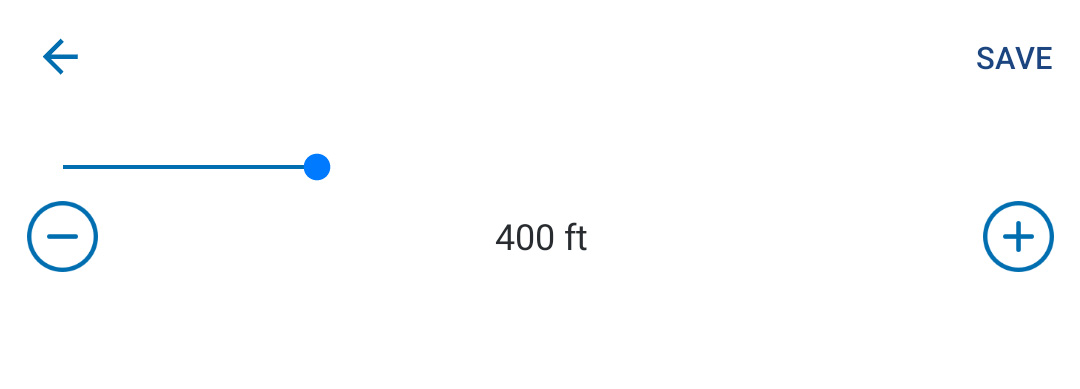
- Set the Max Altitude
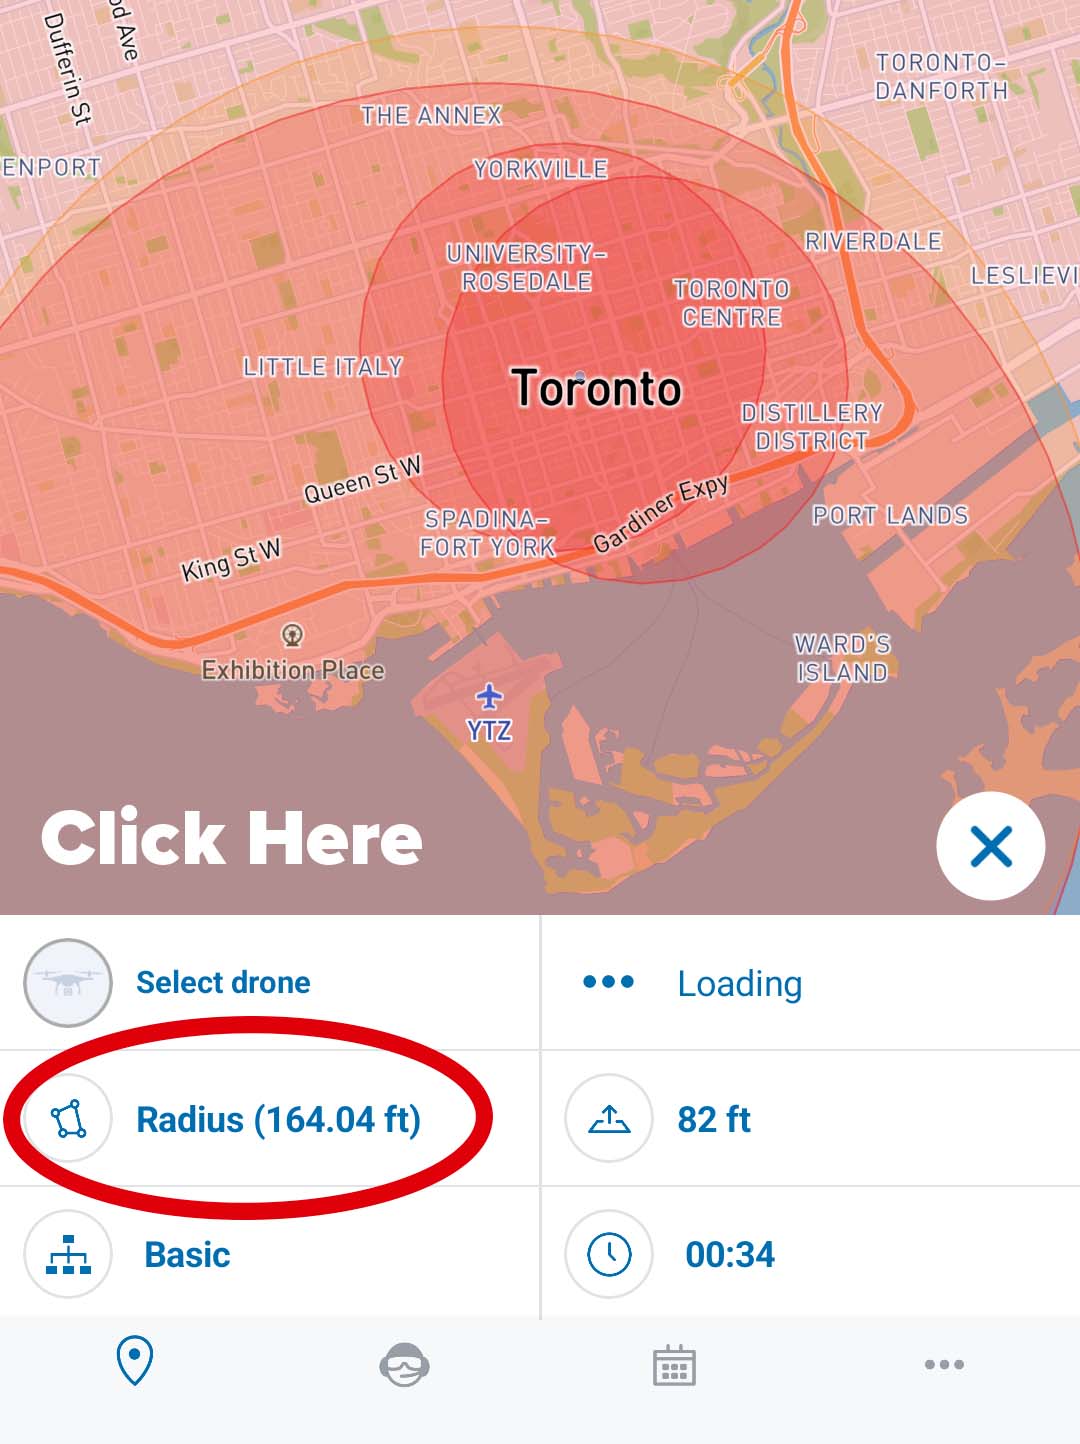
- Set a Radius or Draw a Flight Zone
This will pop up:
This will pop up:
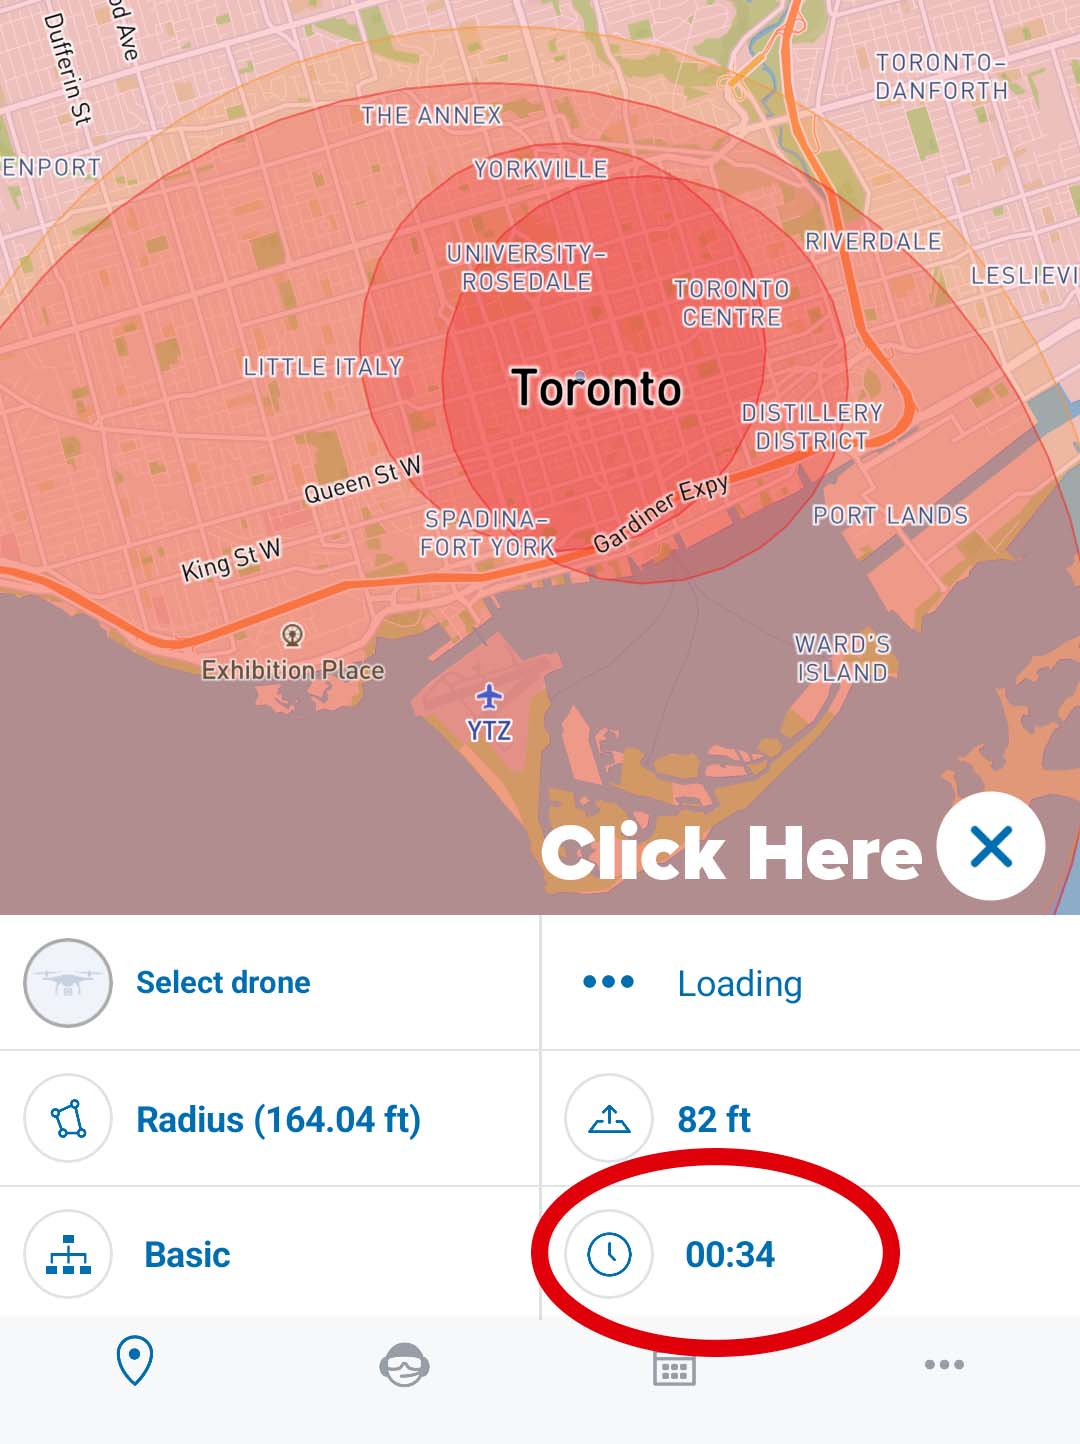
This will pop up:
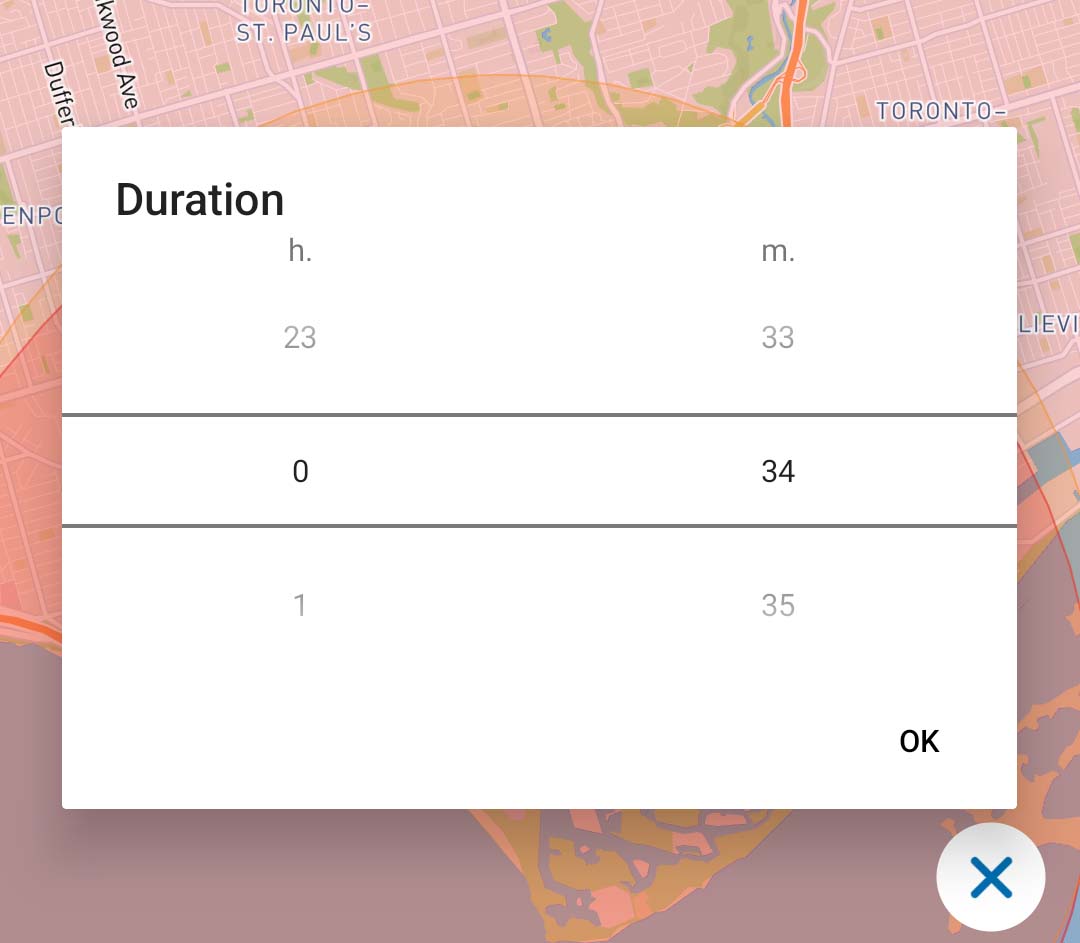
This will pop up:
This will pop up:

Once you're done creating your flight zone, tap "Set Radius".
Step 2: Validating the Operation
Once you have defined the flight zone and operation parameters, the Nav Drone mobile app will validate the operation to ensure it complies with all applicable rules and regulations. The validation results will be displayed in two forms:
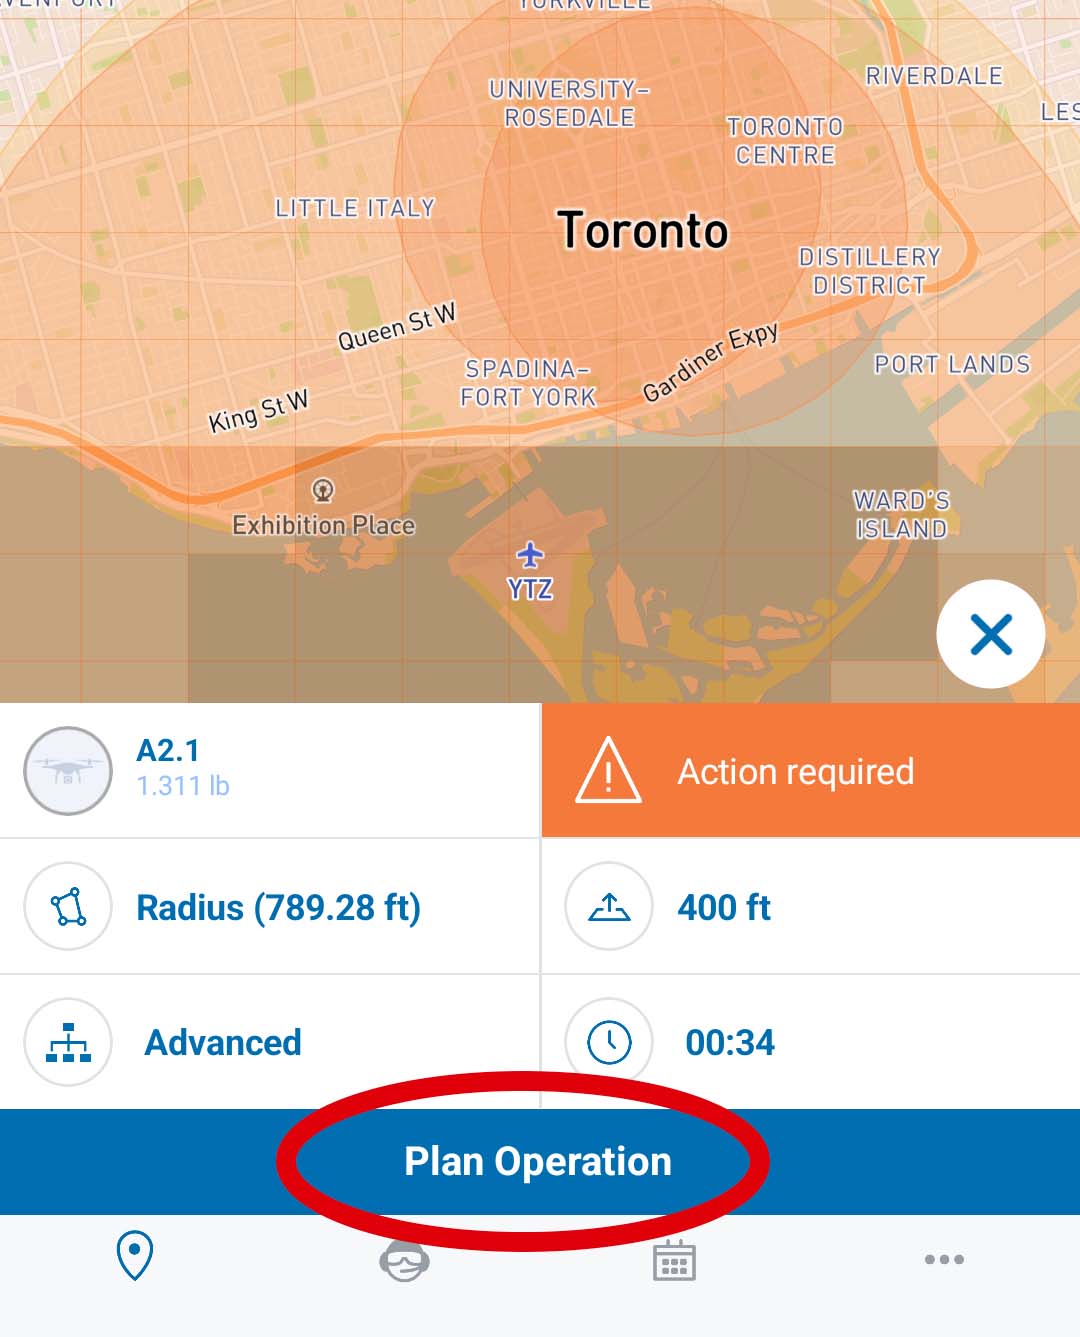
The overall validation result: This will be represented by the operation validation status icon or the validation button. A green color code indicates that the operation is allowed, an orange color code indicates that there are warnings or actions required, and a red color code means the operation is not allowed.


The result categories: These can be accessed by tapping on the validation button. The validation details will be grouped into categories that you can expand or collapse to display or hide the details. The categories will be color-coded for easy interpretation, with green indicating rules that the operation is complying with, blue indicating disclaimers that the pilot/operator should be aware of, and red indicating rules that the operation is not complying with.
If the overall validation result is green, you can proceed to the next step by tapping the "Plan Operation" button (See image below). If the result is orange or red, you will need to address any warnings or actions required before proceeding.
Step 3: Save the Operation as a Draft
- Enter a name for the operation.
- Tap the [Save] button to confirm.
- Once you have saved the operation as a draft, you can move on to the next step, which is publishing the operation.
Step 4: Publish the Operation
- Review the operation details and tap the [Publish] button to confirm.
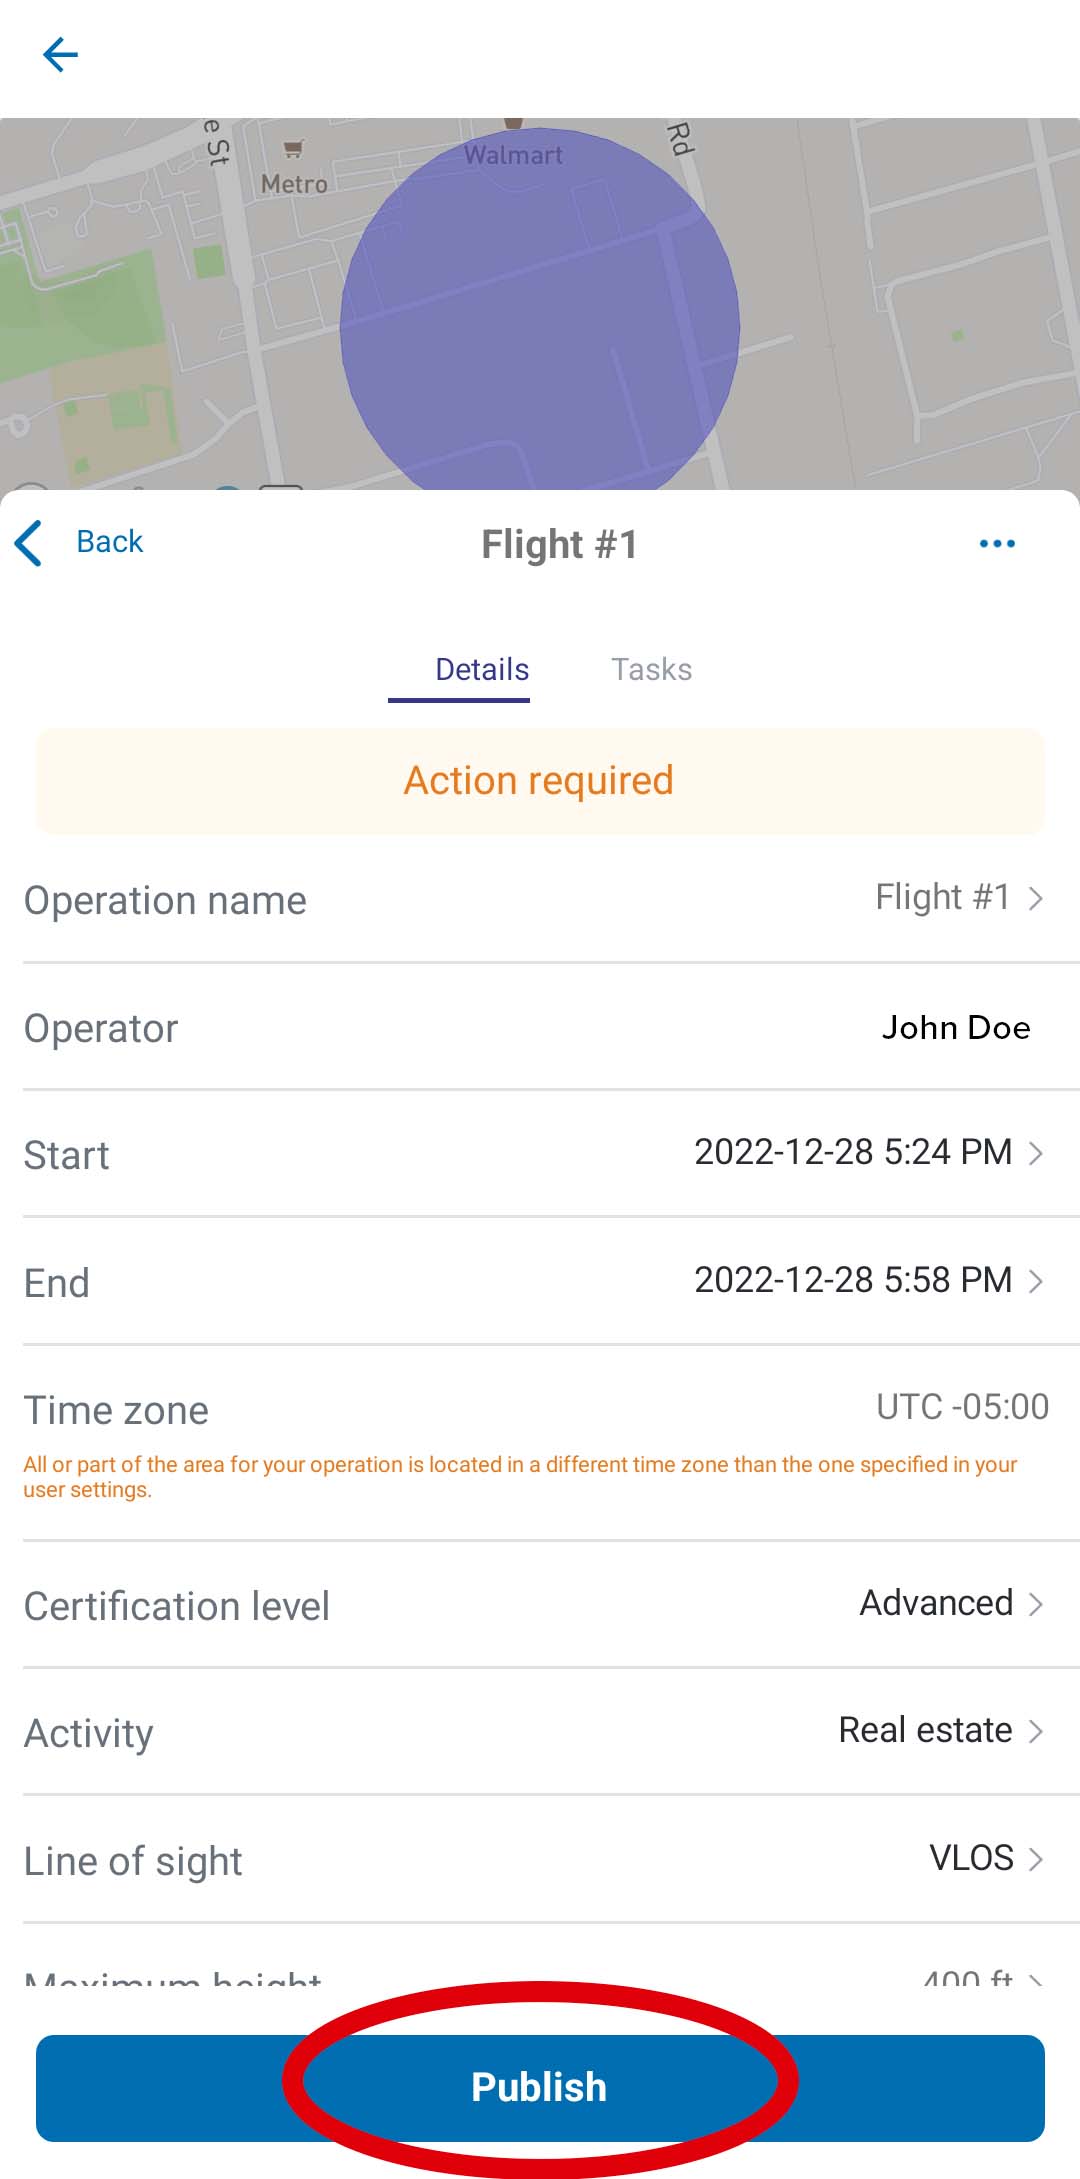
Once the operation is published, you can move on to the final step, which is managing the operation's tasks. This includes receiving any necessary permissions to conduct the operation.
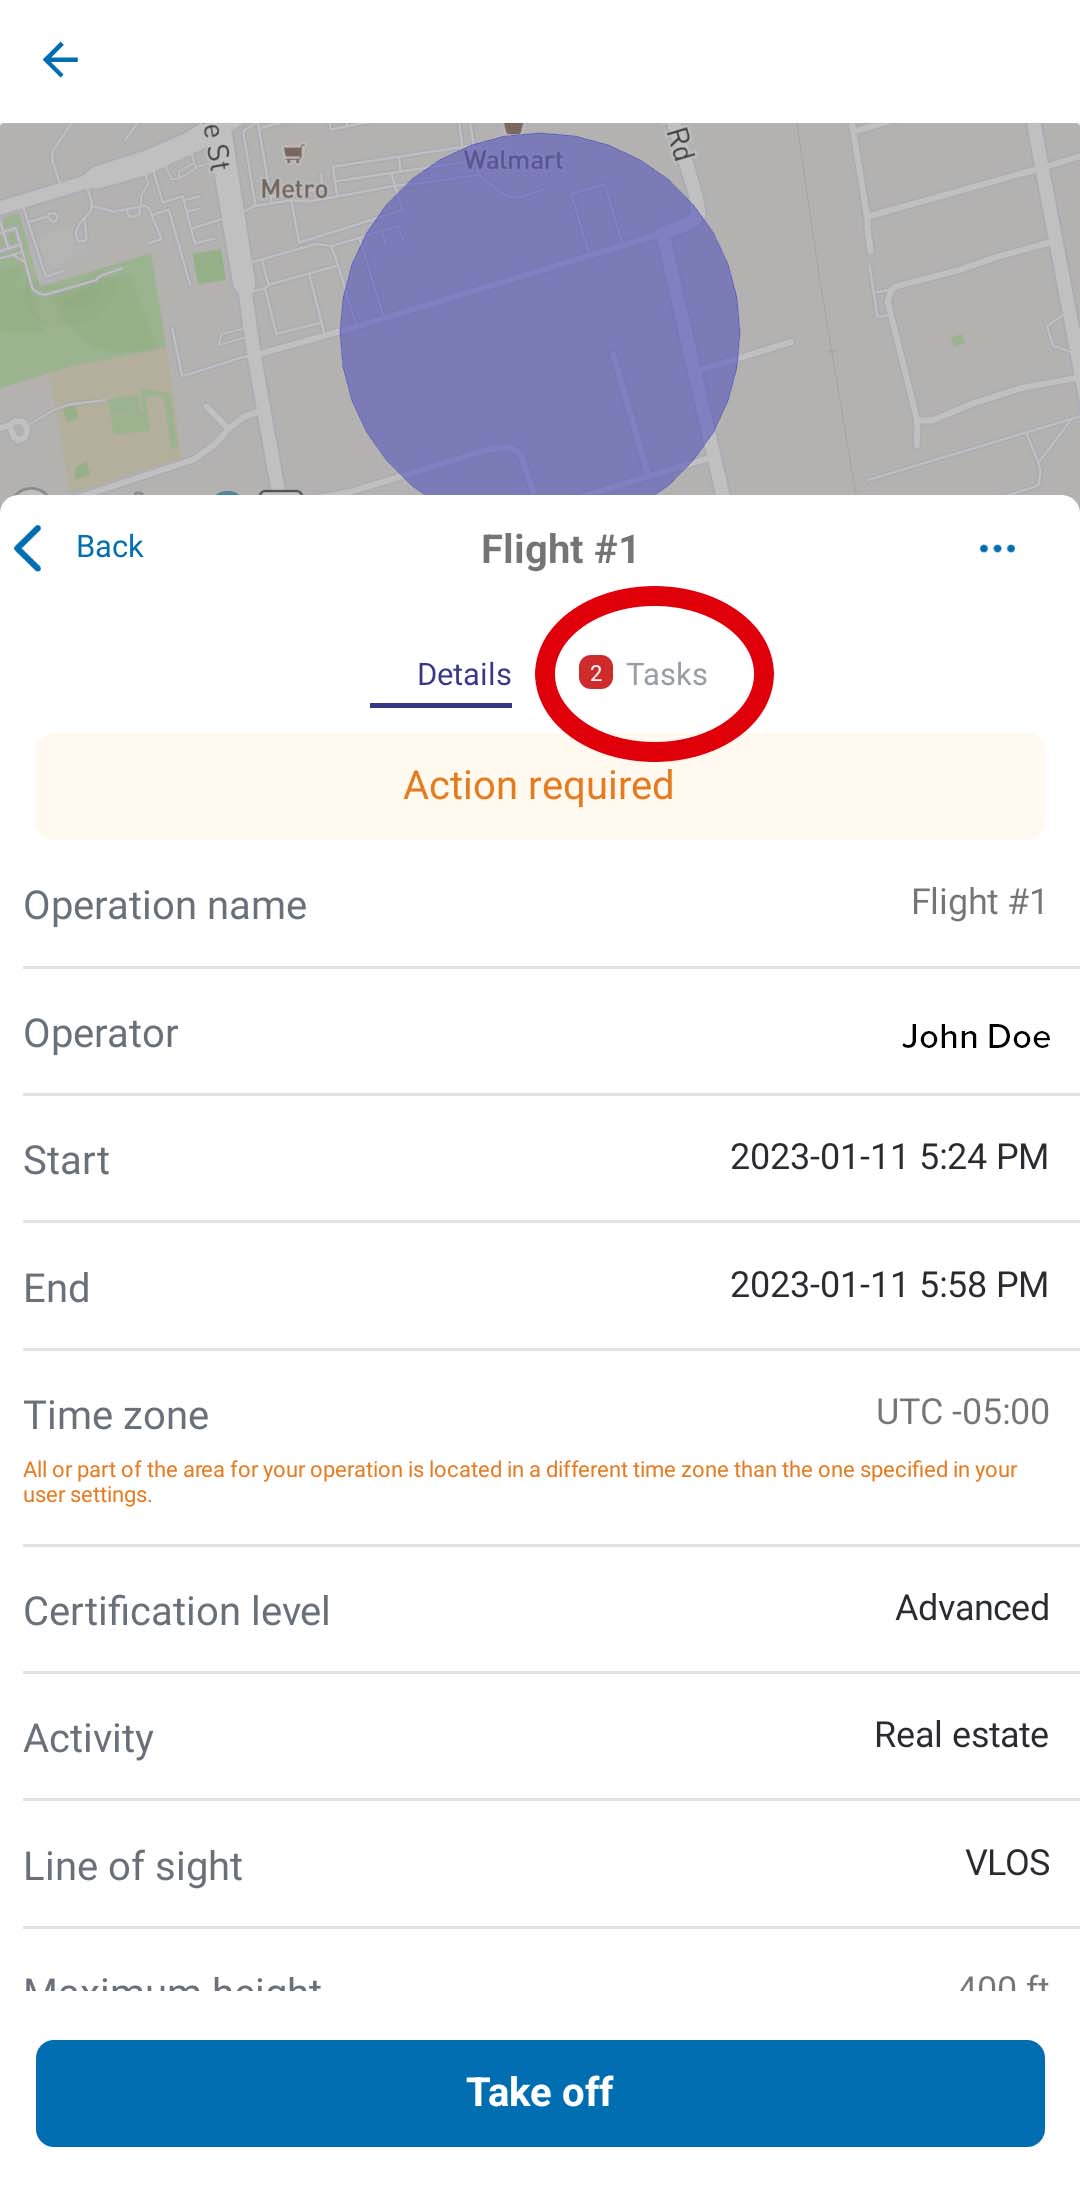
Step 5: Manage the Operation's Tasks
- Tap the "Tasks" tab in the menu.
- Review the list of tasks and tap on any individual task to view more details.
- Follow any instructions provided in the task tab to complete the task.
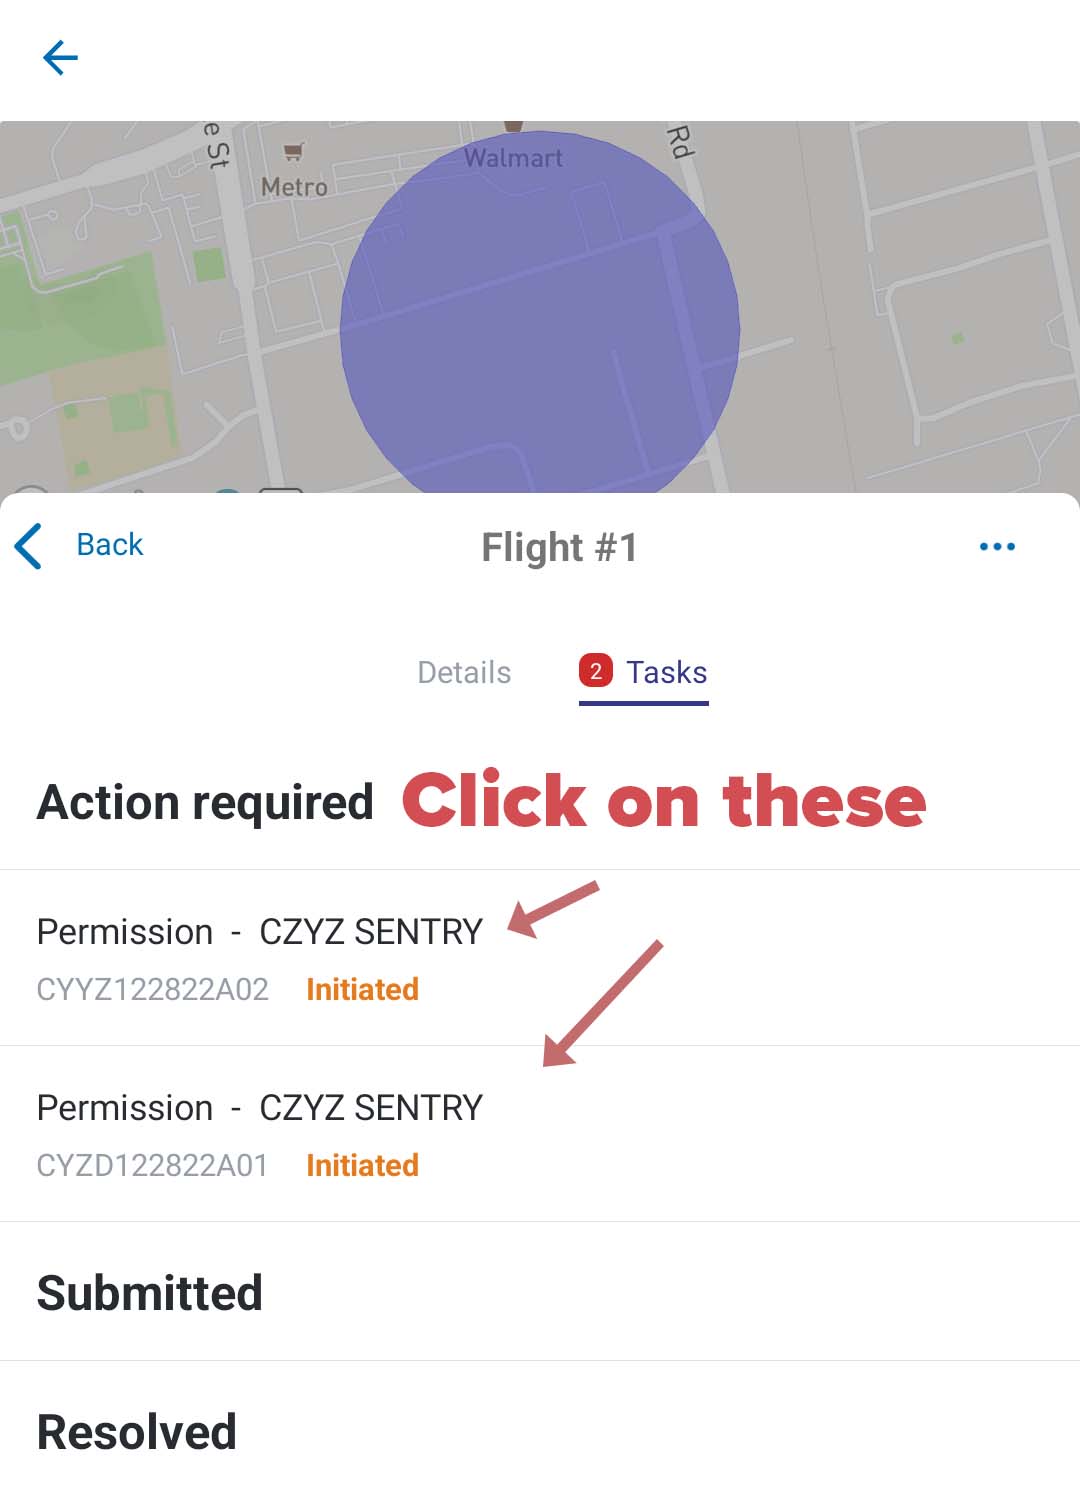
Depending on how close you plan to fly to the center of a CZ, you may need to wait for NAV CANADA to review your request and provide a response.
Conclusion
In summary, the Nav Drone mobile app is a convenient tool for drone operators in Canada to review guidelines, find out where they can fly, schedule flights, and request permission to fly in controlled airspace. However, keep in mind that some features are only available in the web application. Follow the steps outlined above to create a new operation and receive the necessary permissions to fly safely and legally in Canadian airspace.
Pick Your Drone License
Become a certified drone pilot and unlock the skies. Click here to learn more.